

Moisture sensitive solvents come in specially sealed containers. The solvent is transferred from these containers using cannula and pressure from an inert gas. Dry solvent comes in bottles that are easily recognized by their cap. Rather than a screw top, these bottles have a cap that looks like a the cap on a soda or beer bottle, with a small septum in the middle. Do not remove this seal! Permanently opening the seal allow water vapor or oxygen into the solvent bottle, making the solvent less effective or even worthless.

- balance
- weighing boat | paper
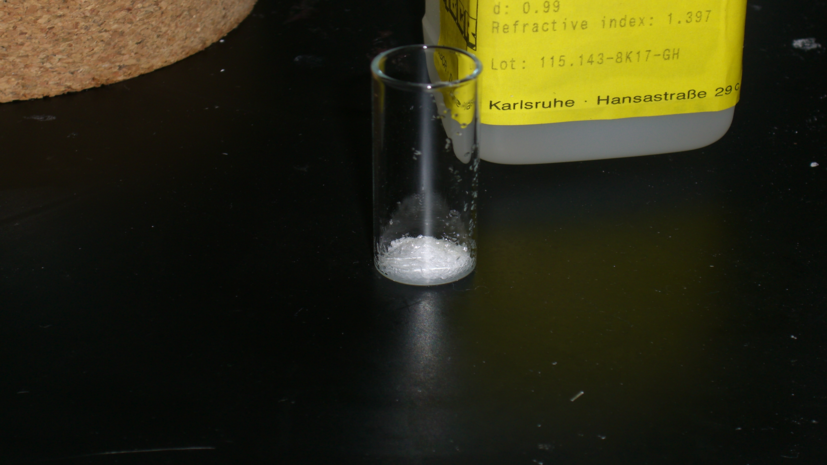
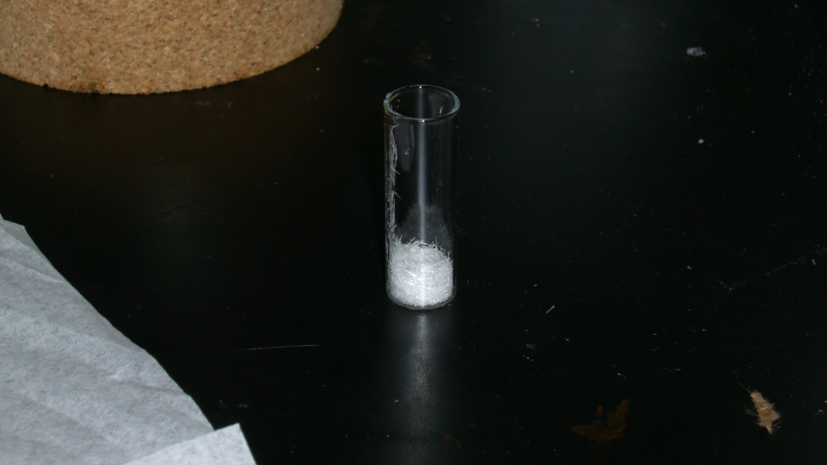
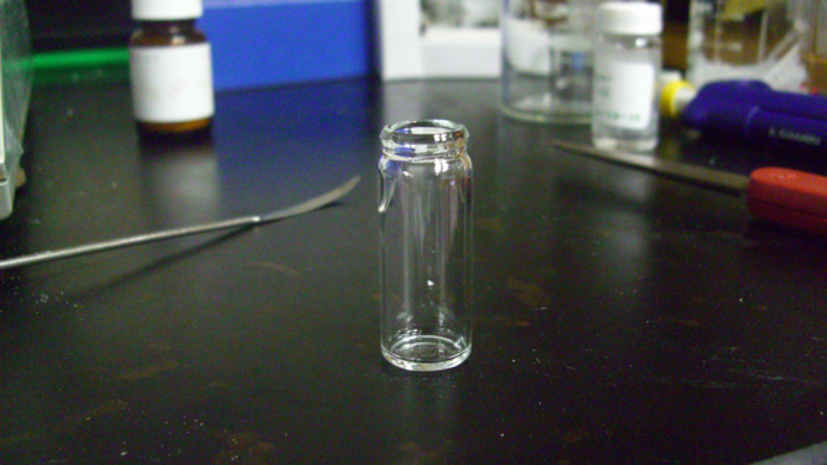
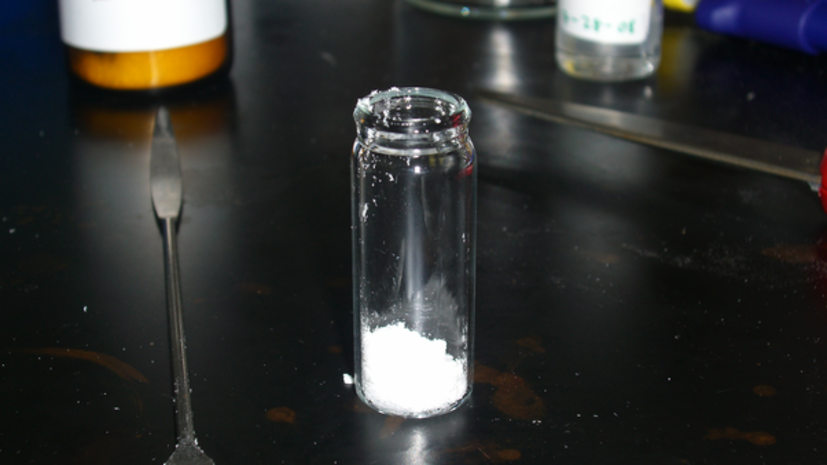
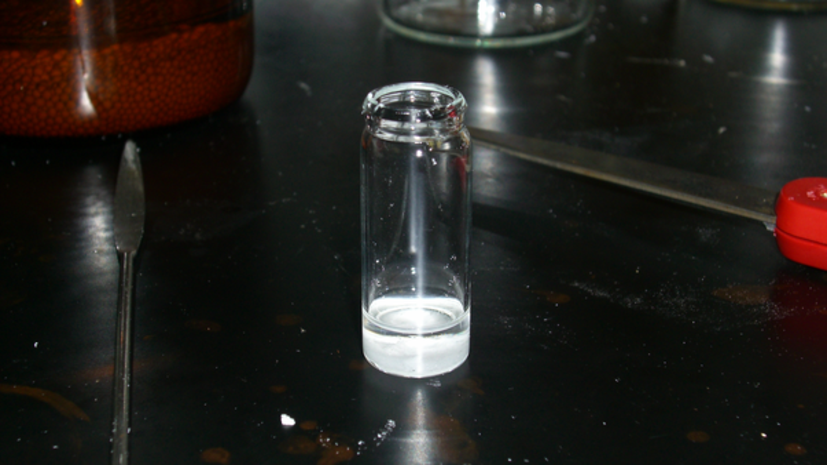
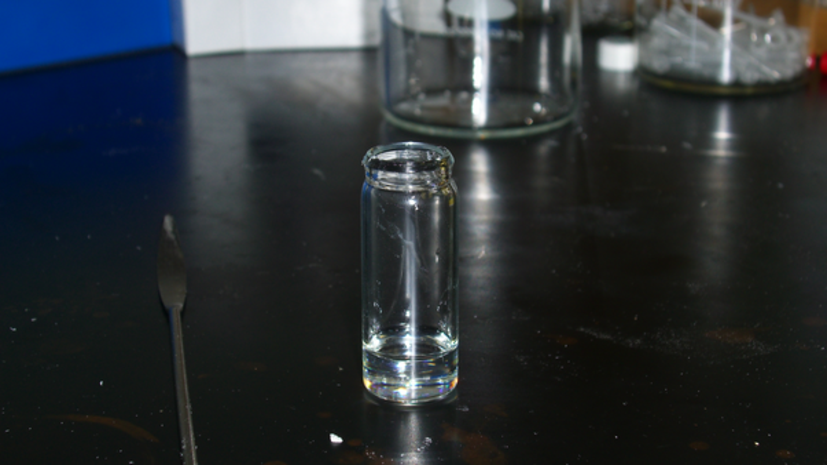
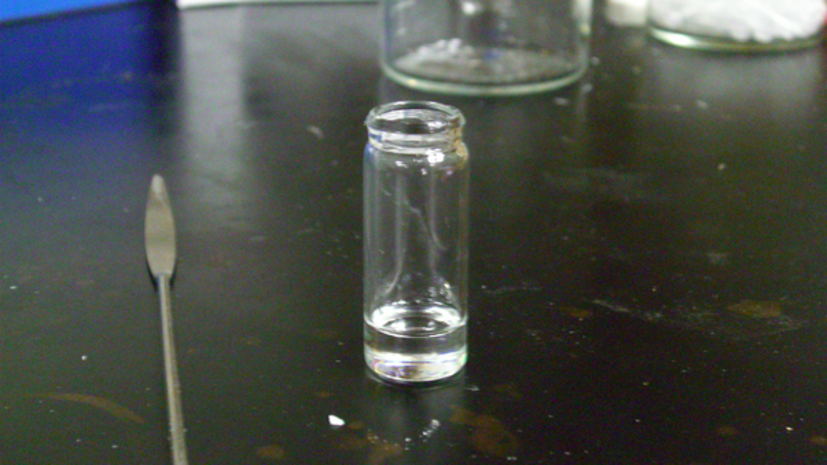
- glass vial | plastic > 5mL
- glass | plastic transfer pipette
- Teflon film (~20um thick)
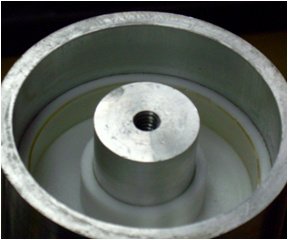
- spin casting head
- heated centrifuge | spinning apparatus
- dry-ice | liquid nitrogen
- Tefzel tape (DuPont)
- 15 cm plastic | wood | metal rod for hanging LCE

This material is prepared using a heated centrifuge in a spin casting head. Before starting material preparation, pre-heat the spin casting head to 60 ~ 65oC.

The first step is preparation of the catalyst solution and reaction solution

- The platinum catalyst solution is prepared as a 1 to 2% weight/weight (w/w) solution in methylene chloride. Typically, this solution is prepared in quantities of 100 to 200uL in a brown vial and stored in the refrigerator.
- Example calculation for 1% (w/w)solution: Add 2 mg of the platinum catalyst to brown glass vial. Add methylene chloride drop wise until the total mass is 100 mg. This will be enough to prepare 5 batches of LCE

- Clean the cannula using some solvent, such as a non-dry solvent you wish to use and dry in an oven. When possible, (overnight) cool to room temperature to avoid condensation of water on the inner surface of the cannula. Before using, flush with the inert gas. N2 was used for the setup in the picture to the right.
- Place the rubber septum over the flange(s) of the reaction vessel. These are the white caps in the image.
- Insert a syringe with a needle into the supply line hose and the exhaust line hose.
- Insert the exhaust lines needle (d) through the center of the rubber septum on the reaction flask.
- Insert the supply line's needle (b) through the septum on the solvent bottle.
- Push one end of the cannula (a) through the solvent bottle's septum (c). Put the other end in a beaker. At a low pressure, turn on the N2 supply and flush the cannula with solvent to remove any unwanted materials that may be on the surface of the cannula. A few mL of solvent is sufficient to wash the line.
- Next, insert the cannula through the septum of the reaction flask and fill until to the desired amount of solvent is transferred.
- To stop the transfer, remove the cannula from the reaction vessel, then quickly remove the supply line and exhaust line from the reaction flask.