

A reflux condenser allows running a reaction at a higher temperature while minimizing the loss of solvent. The reflux condenser is a specially made piece of glassware with a cooling water jacket that condenses solvent vapor, returning it to the reaction flask

- balance
- weighing boat | paper
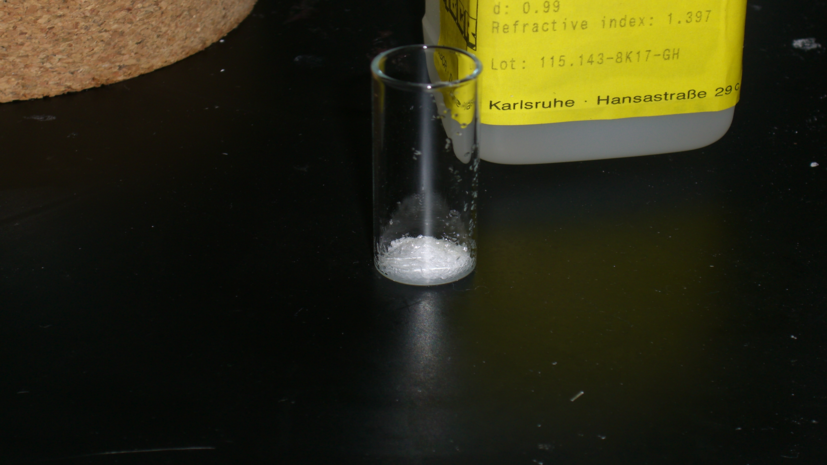
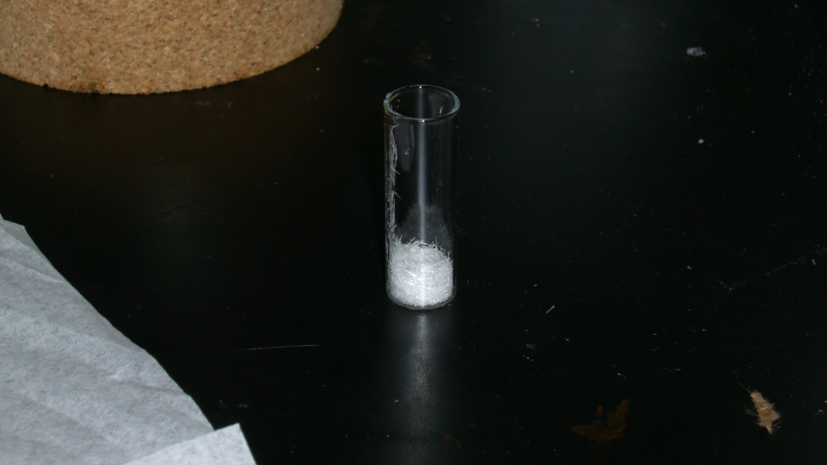
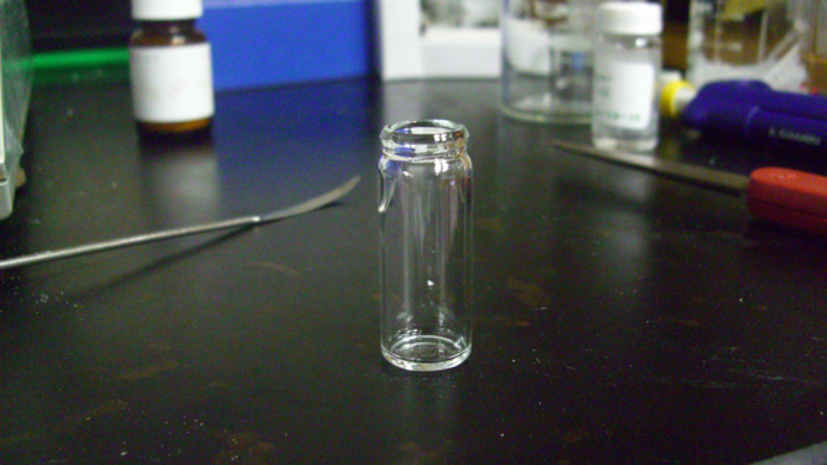
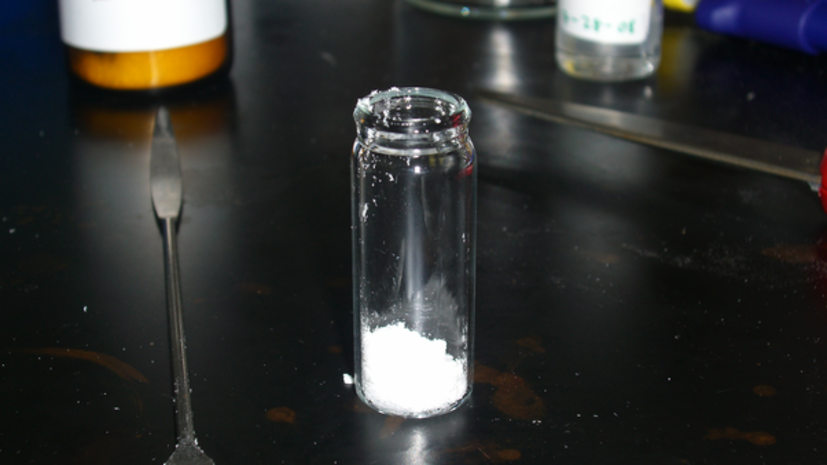
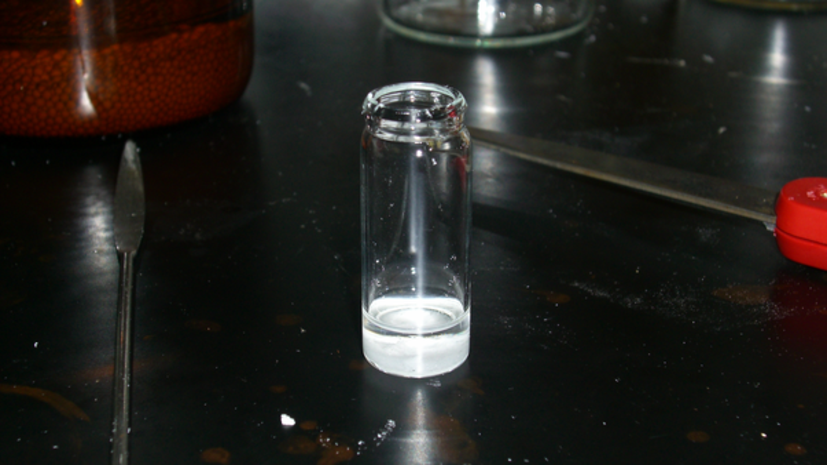
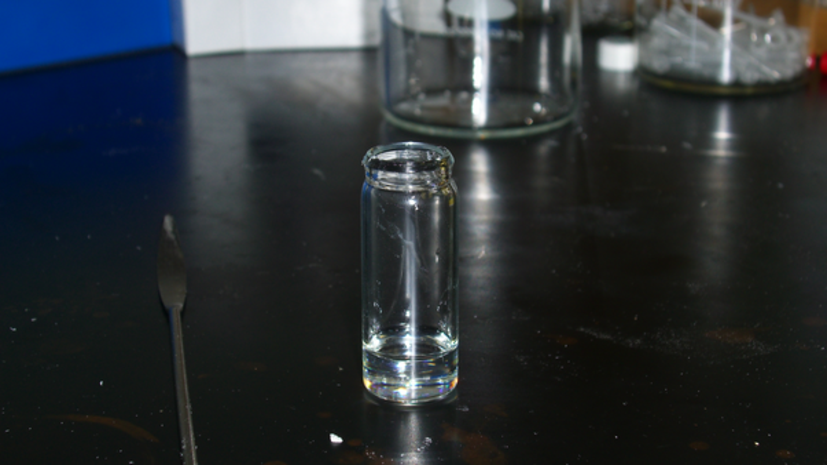
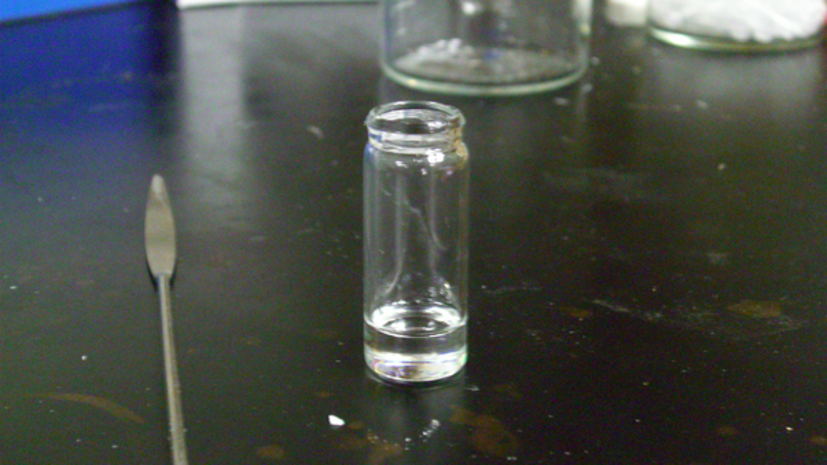
- glass vial | plastic > 5mL
- glass | plastic transfer pipette
- Teflon film (~20um thick)
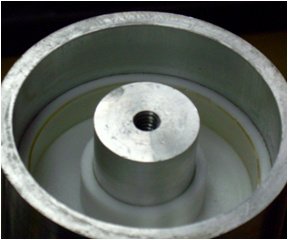
- spin casting head
- heated centrifuge | spinning apparatus
- dry-ice | liquid nitrogen
- Tefzel tape (DuPont)
- 15 cm plastic | wood | metal rod for hanging LCE

This material is prepared using a heated centrifuge in a spin casting head. Before starting material preparation, pre-heat the spin casting head to 60 ~ 65oC.

The first step is preparation of the catalyst solution and reaction solution

- The platinum catalyst solution is prepared as a 1 to 2% weight/weight (w/w) solution in methylene chloride. Typically, this solution is prepared in quantities of 100 to 200uL in a brown vial and stored in the refrigerator.
- Example calculation for 1% (w/w)solution: Add 2 mg of the platinum catalyst to brown glass vial. Add methylene chloride drop wise until the total mass is 100 mg. This will be enough to prepare 5 batches of LCE


Setting up a reflux condenser is relatively simple, with the biggest concerns being stable water supply and leaks at the connections.
- A reflux condenser has two connection ports, one at the top and the other at the bottom of the condenser. The bottom port is the inlet and the top is the outlet
- First connect the water supply hose to the bottom port. Next connect the drain line hose to the top port. Secure the hose with a band clamp or wire. Be sure the drain works properly and is clear of debris. Slowly turn on the water and check for leaks. The water flow does not need to be fast for the reflux condenser to work properly.(When setting up condensers in a series, the drain line of the first condenser is the supply line to the second condenser.)
- Slide the condenser into the connection joint of the flask and rotate gently to make a good fit between the condenser and the flask. Use the center connection port if the flask has multiple openings. Do not use silica grease.
- Place the condenser/flask assembly in a oil bath or heating mantle
- Insert a thermometer into the oil bath and connect the oil bath's heater to the power supply. The system is now ready to use.
- Ideally, the temperature should be a few (3 to 5 o C) higher than the boiling point of the solvent used. When running properly, the vapor from the reaction vessel will condense on the inner wall of the condenser a few cm above the connection with the reaction flask, forming small droplets on the surface of the glass